|
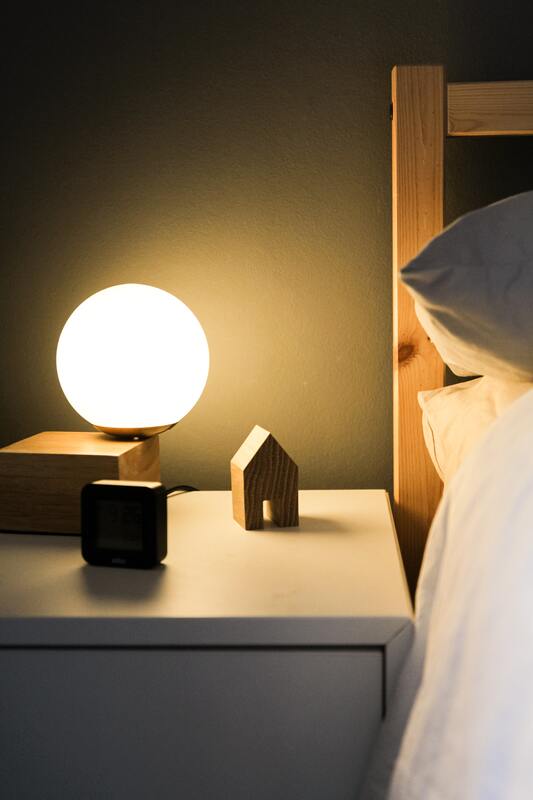
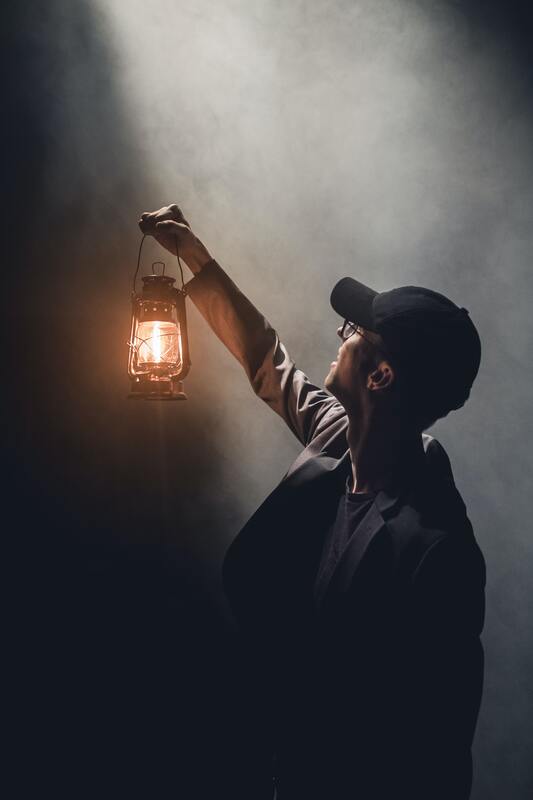
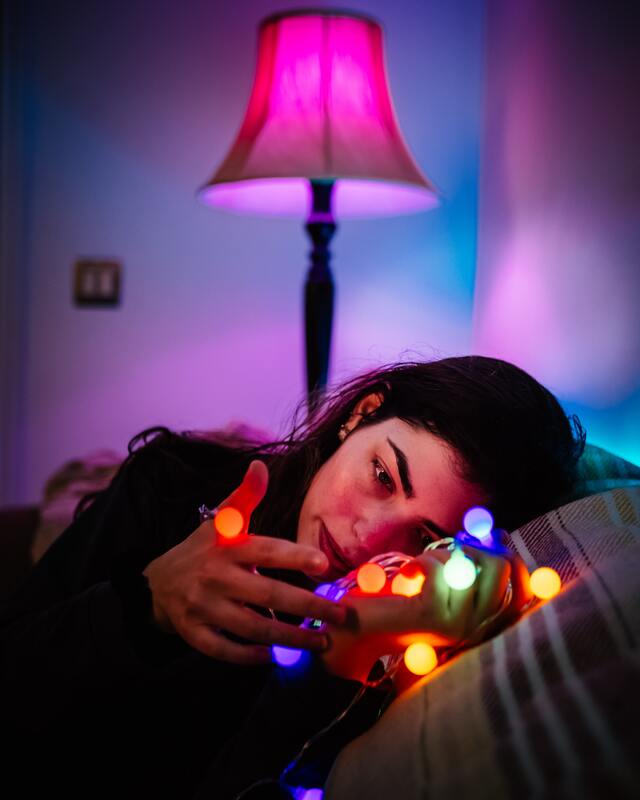
Light plays an important role in photography. The light illuminates the objects and the scene, as well as set the mood and theme of the picture. Mastering natural light for your photographs can be the difference between a mediocre picture and a master piece. But Natural light is not always available. In that case you have have to use acritical light sources. Think of photography at night or indoors. Let’s look at some tips regarding the use of artificial light for photography. 1. Setting the Mood Always use a light source that matches the mood of your image. Different light sources produce different color temperatures and can create different moods in your images. For example, a warm light source such as a tungsten bulb can create a cozy and intimate feeling, while a cooler light source such as a fluorescent bulb can create a more clinical and sterile feeling. 2. Giving Direction Direction is one of the most important aspect in both natural and artificial lighting. Understanding how to use direction to your advantage can really up your photography skills. Artificial light can be manipulated to create different lighting effects. You can use a softbox or umbrella to diffuse the light and create soft, even lighting or use a directional light source to create dramatic shadows and highlights. You can also use combination of multiple light sources to balance your picture out. For example you can use multiple light sources to balance out unwanted color casts or shadows from overhead lamps etc. 3. Practice makes perfect Learning how to use artificial light to set your scene takes time to learn and master. The best way to learn is by trying out different things yourself. It is important to practice and experiment to find different lighting setups that works best for you and the mood you want to communicate in your images.
When selecting your dive location make sure that it is easily accessible and has good visibility. The last thing you want is your image to be a poorly lit mess. You can edit your underwater photographs on the Urban Jungle Photo Editor. Available on the Apple App Store. Follow us on Facebook and Instagram to be the first ones to hear about exciting new features coming to the Urban Jungle Photo Editor.
0 Comments
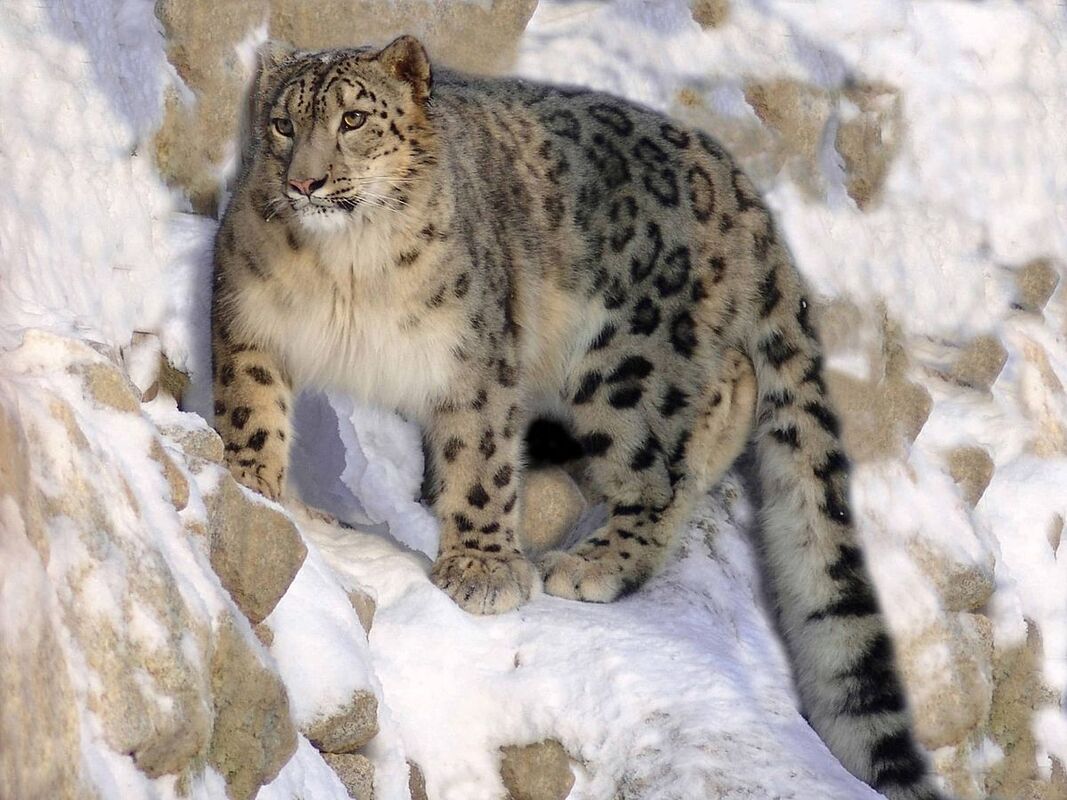
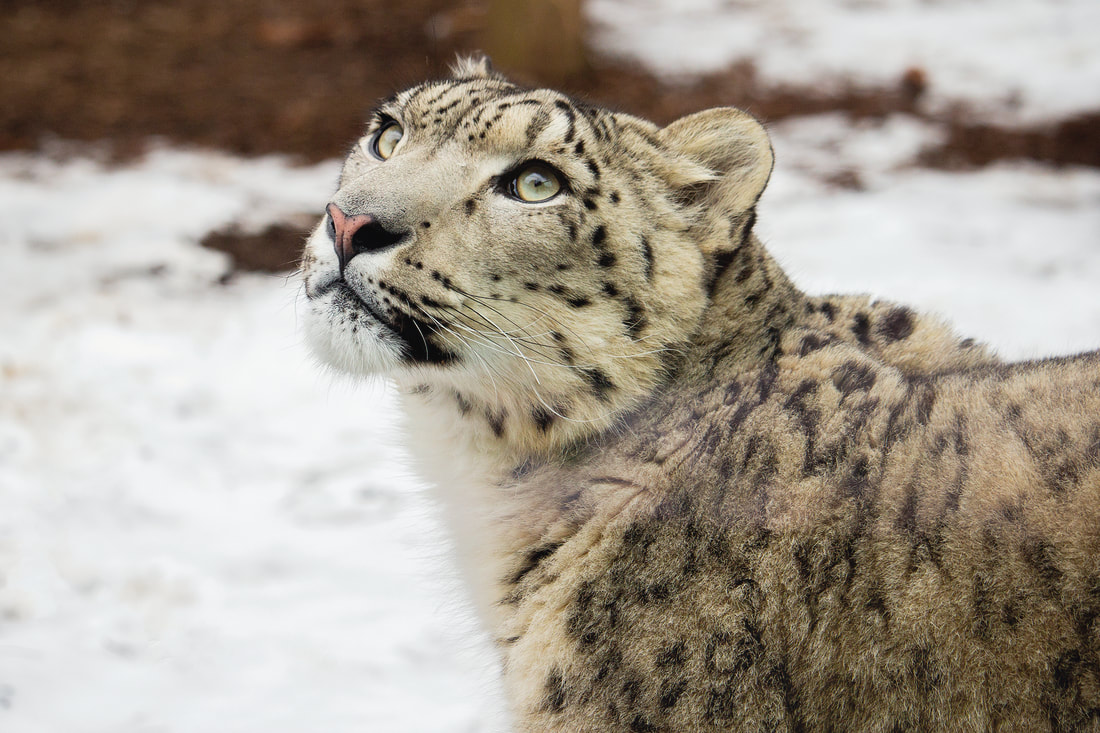
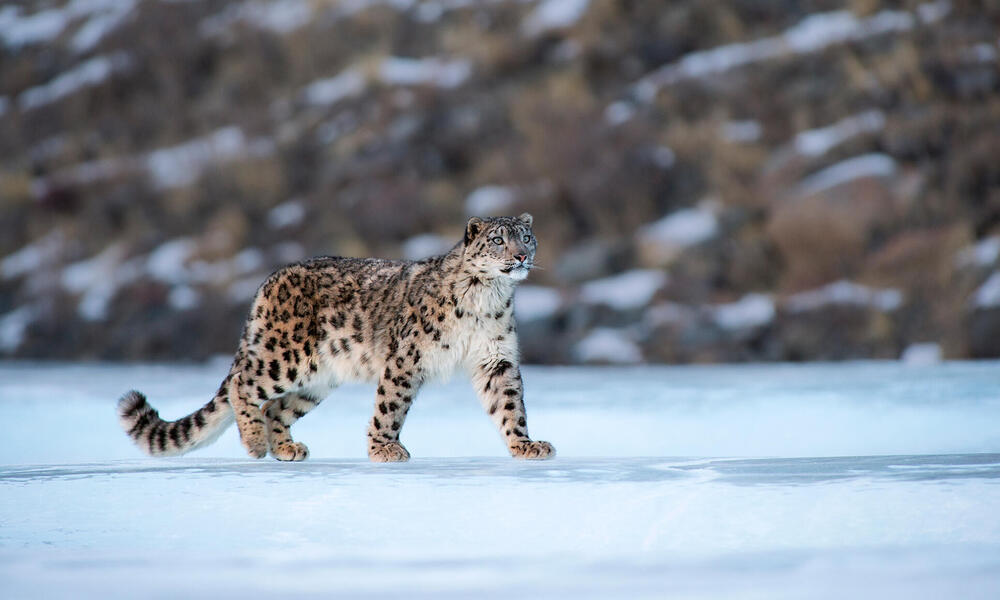
In this week’s blog post, we are going to do something different. We will travel to the far reaches of the world to learn more about exotic animals that live among us. This week we are looking at the ‘Ghosts of the Mountains’ or Snow Leopards. Let's dive deep into the lives of these majestic creatures of the mountain, where they live, what they hunt for food, and how one can go about photographing them. Habitat Snow Leopards are found in the high-altitude regions of Central Asia, including the Himalayas, the Tibetan Plateau, and the Altai Mountains. They are well-adapted to their harsh environment, with a thick coat of fur that helps them to survive in temperatures that can drop as low as -40 degrees Celsius. Their large, furry paws are also designed to help them navigate through deep snow, while their long, powerful tail helps them to maintain balance and stability on steep and rocky terrain. Snow leopards can be found in countries like Afghanistan, Nepal, China, India, and Pakistan as well as in some central Asian countries like Kazakhstan, Kyrgyzstan, Mongolia, Tajikistan, Uzbekistan, and even Russia. One thing to keep in mind is that they are a rare and elusive species and are found only in remote and inaccessible areas. They like to stay away from settlements, so finding that can be a challenge. Hunting Pattern and Behavior Snow leopards are carnivorous and mainly feed on wild sheep and goats, but they have also been known to hunt other small mammals such as marmots, hares, and pikas. They are highly skilled hunters, capable of taking down prey that is much larger than themselves. Snow leopards are typically active during dawn and dusk. This is the time of the day when you’ll have a chance to spot one. Photographing Snow Leopards You’ll have a good chance to photograph a snow leopard if you keep your distance. This way there is no chance of spooking it or causing it to behave dangerously. For that, you’ll need to photograph from a distance. A 300mm to 400mm lens is a good starting point, but if you can afford it, a 500mm or 600mm lens will give you even better results. Also use a sturdy tripod to keep your camera steady and avoid camera shake, which can result in blurry images. As previously mentioned, Snow leopards are typically active during dawn and dusk, so you'll need to use a high ISO setting to capture sharp images in low-light conditions.
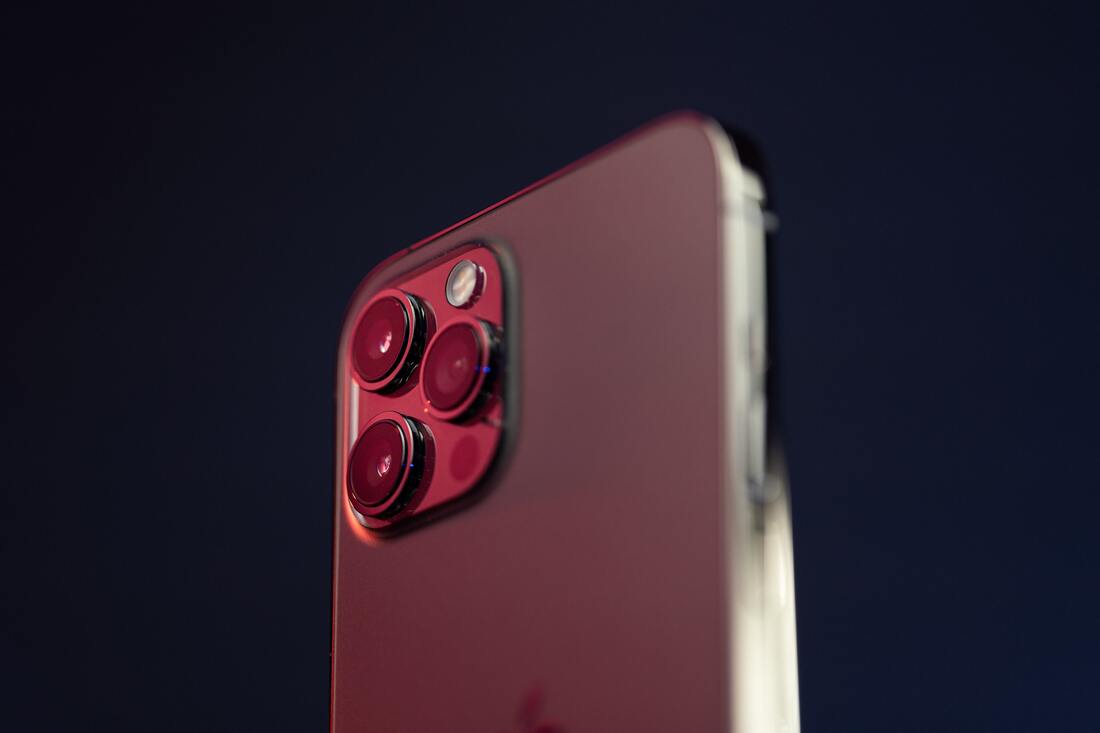
Photographing snow leopards requires a lot of patience, as they are elusive and may take a while to appear. Be prepared to spend long hours waiting and watching, and be ready to react quickly when you see a snow leopard. Use the Urban Jungle Photo Editor to unleash your creativity. Download it now for free on the Apple app store. Follow us on Facebook and Instagram to stay up to date on upcoming exciting new features. You can also get your pictures featured on our page if you use the #UrbanJungleApp. Smartphones have become an internal part of our lives. They go where we go, whether it’s the hot desert or the open seas. This is why companies need to focus on making their smartphones as rugged as possible, especially against things like dust and water. The most important indicator of how good a smartphone is against water and dust is the IP rating. IP stands for Ingress protection, and it's an important factor to know if you plan to use your smartphone in an environment that might have excessive dust, water, or other elements. As photography isn’t always done in a clean and safe environment, people that use their smartphones for their photography must know the limitations of their phones. So, let’s take a look at how the IP ratings work. The two digits that follow the "IP" indicate the level of protection provided by the device, with the first digit indicating the level of protection against solid objects, and the second digit indicating the level of protection against liquids. The first digit can range from 0 to 6 and indicates protection against solid objects, such as dust and debris. Level 0: No protection Level 1: Protection against objects larger than 50mm Level 2: Protection against objects larger than 12.5mm Level 3: Protection against objects larger than 2.5mm Level 4: Protection against objects larger than 1mm Level 5: Dust protected. Level 6: Dust tight The second digit can range from 0 to 9 and indicates protection against liquids, such as water. Level 0: No protection Level 1: Protection against vertically falling water drops Level 2: Protection against vertically falling water drops when the device is tilted up to 15 degrees Level 3: Protection against spraying water Level 4: Protection against splashing water Level 5: Protection against water jets Level 6: Protection against powerful water jet Level 7: Protection against immersion in water up to 1 meter deep for 30 minutes Level 8: Protection against immersion in water deeper than 1 meter for a specified time. This is usually specified by the manufacturer Level 9: Protection against high-pressure water jets and steam cleaning For example, an IP 67 rating means that the device is dust tight and can be immersed in water up to 1 meter deep for 30 mins.
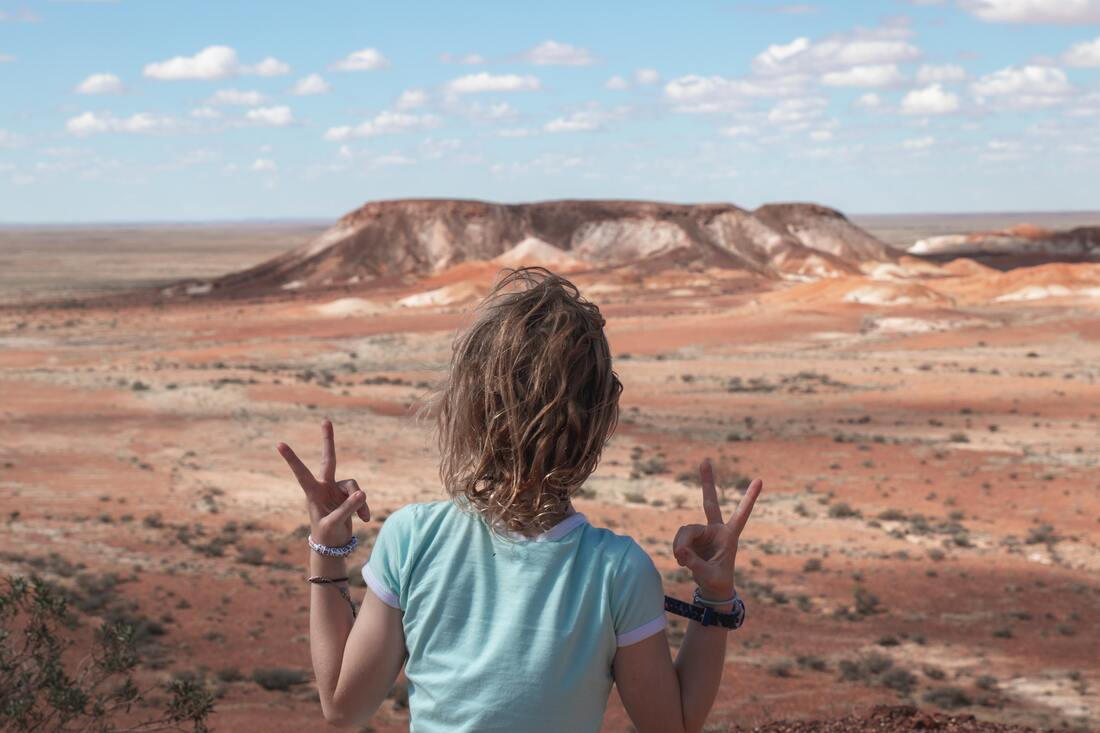
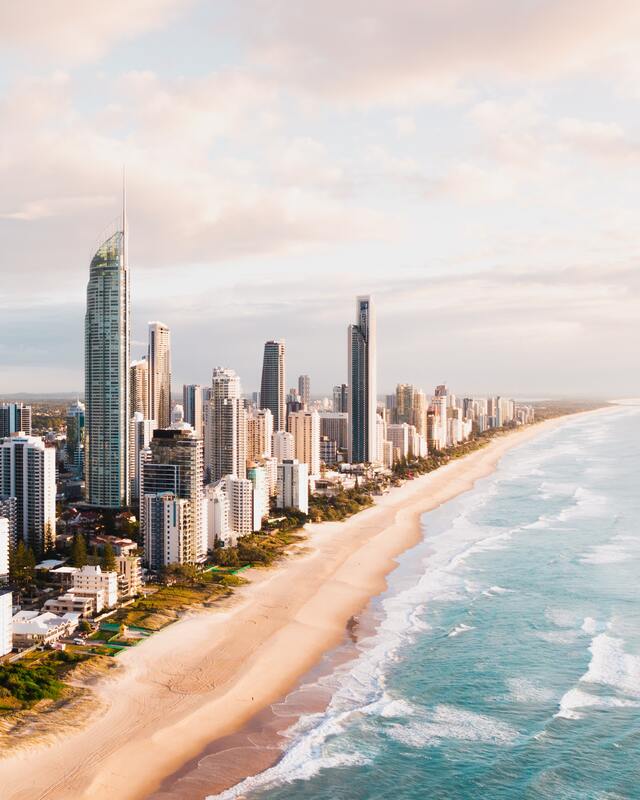
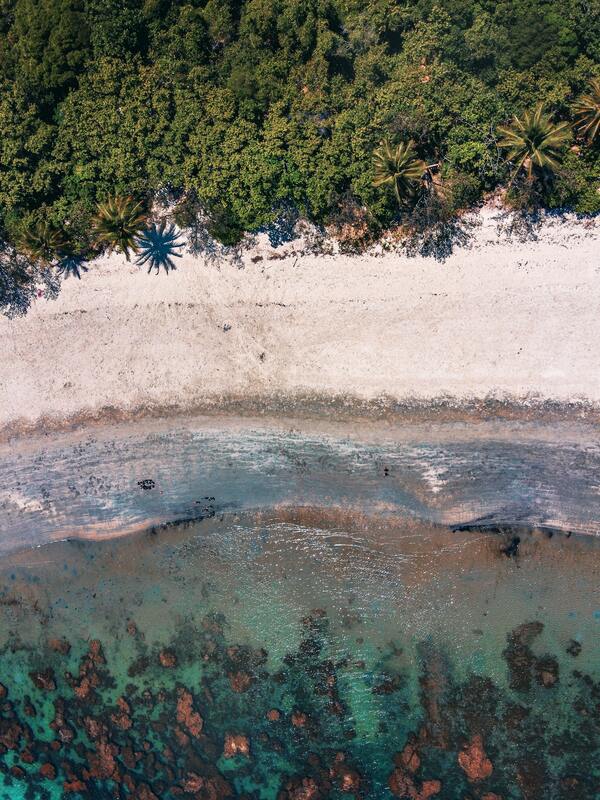
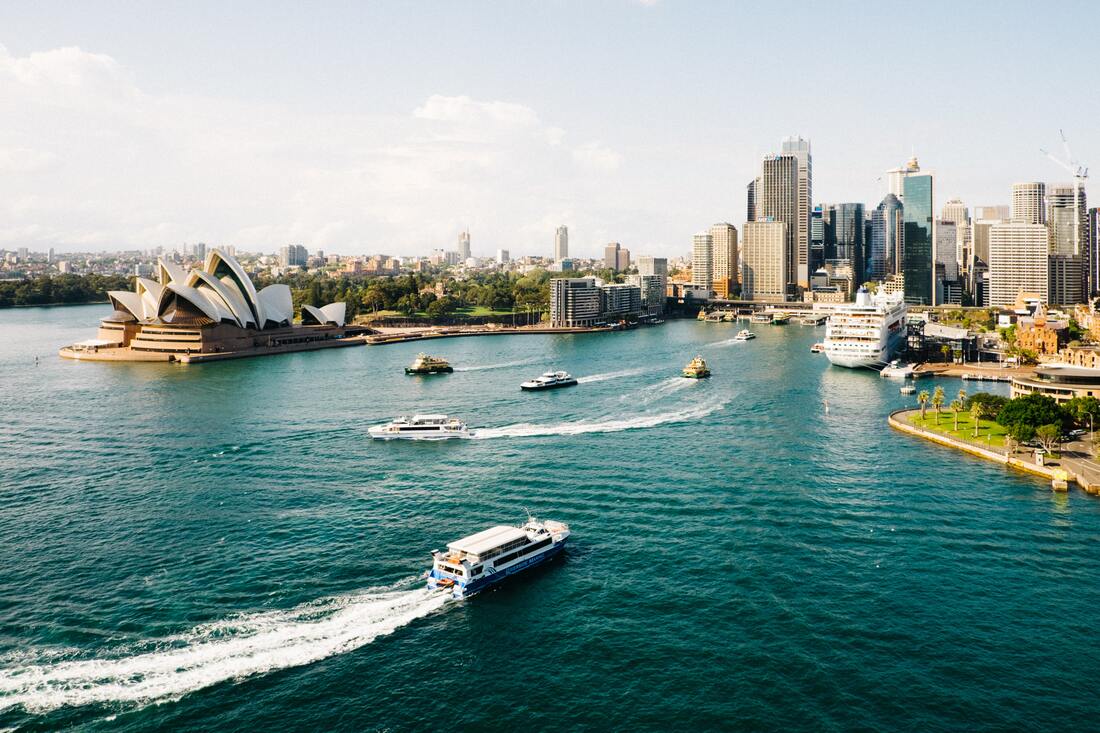
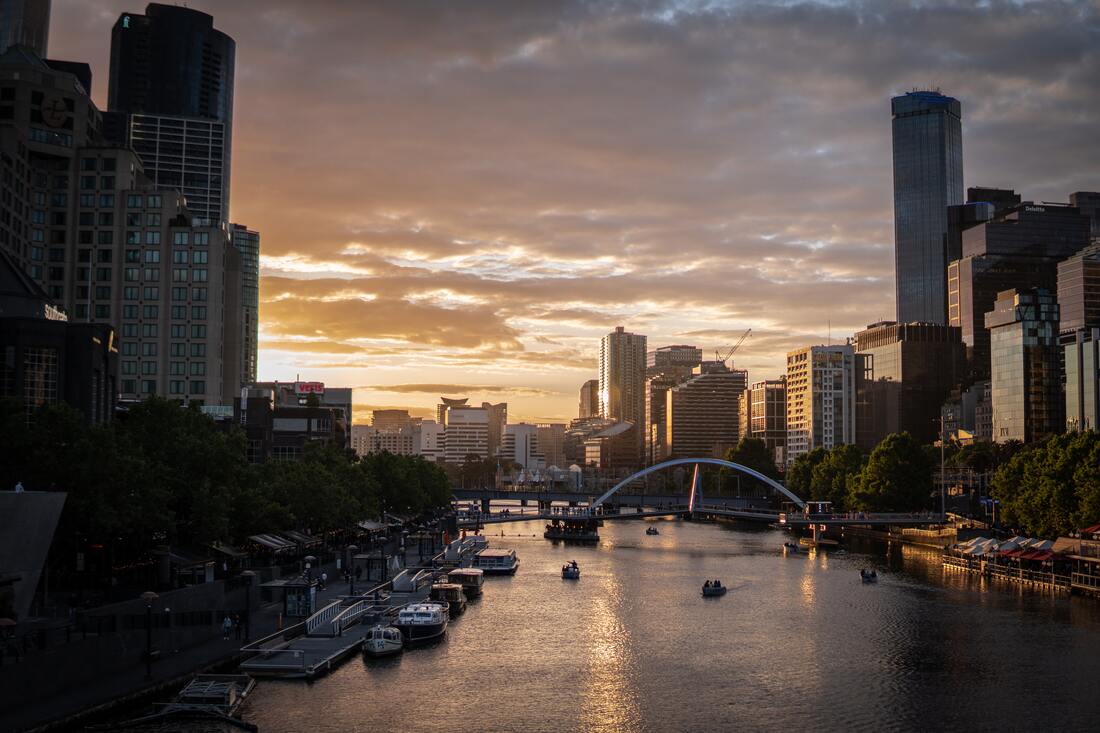
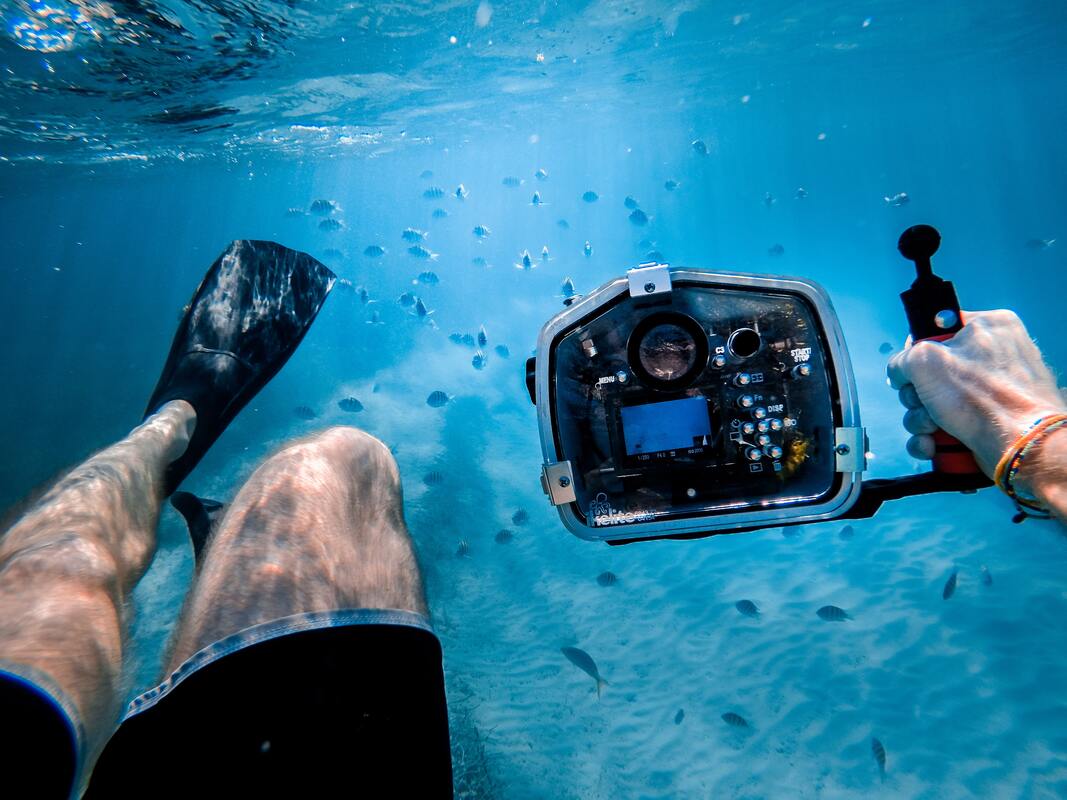
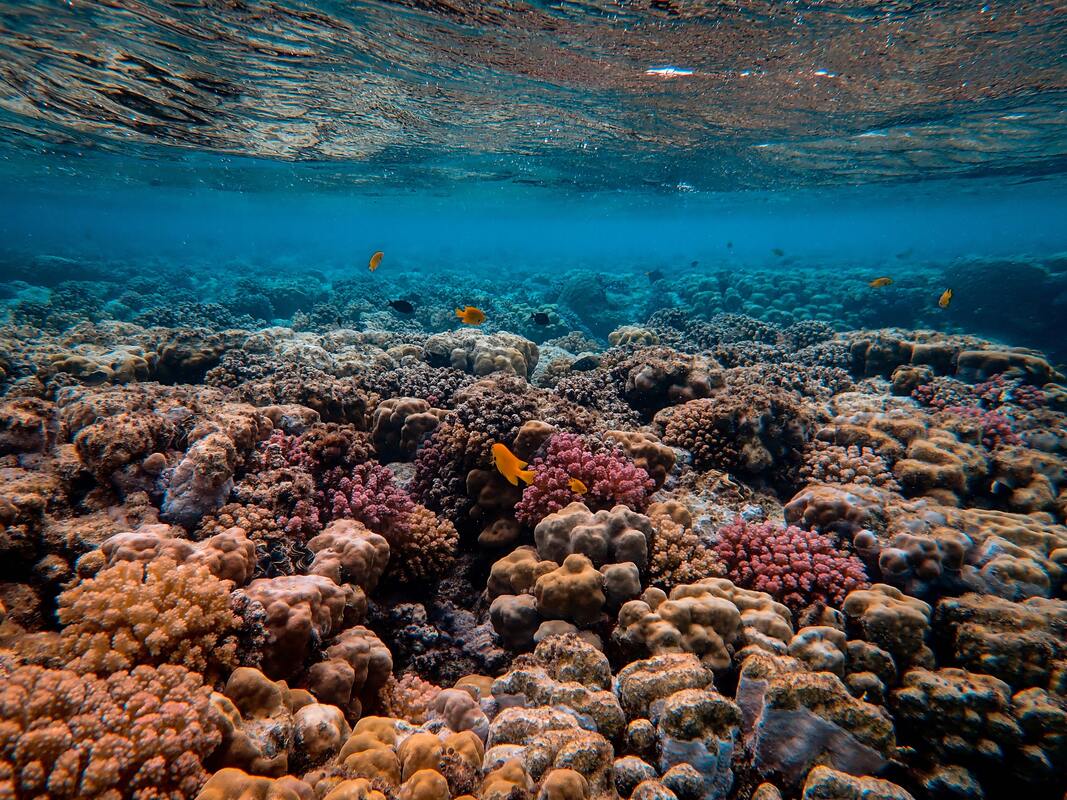
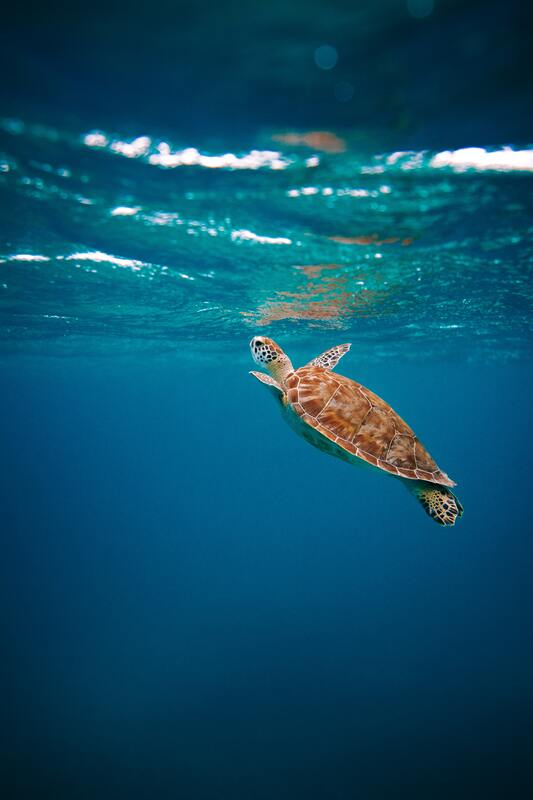
While IP guidelines are given after standardized testing. It is always a good idea to prevent your phone from getting exposed to these elements as much as possible. Follow us on Facebook and Instagram to learn more about the Urban Jungle App. Download it now on the App Store. You can also get your pictures featured on our page if you use the hashtag #UrbanJungleApp. The land down under, Australia is a fascinating country that offers a wide range of experiences. From multicultural metropolitans to exotic deserts, Australia is a beautiful country to visit on your next trip. And it is not just the cities and the deserts, the Australian wildlife, and vegetation is also truly something else. So, let’s look at some of the places you can't miss on your trip to Australia. 1. The Outback The Outback is a rugged and remote wilderness that covers much of central and western Australia. The outback is the raw and unfiltered Australian experience. Take a road trip to explore the red desert and its diverse wildlife or visit small outback towns to learn about the country's pioneering history. There is much to learn and even more to photograph. 2. The Gold Coast One of the most popular destinations for tourists, the gold coast is popular for its beautiful beaches, theme parks, and vibrant nightlife. Located in Queensland, Australia; the gold coast is known for various theme parks, clubs, and best of all golden beaches for swimming or just relaxing. Whether you want to learn how to surf or explore nearby rainforests, the gold coast offers all these and much more experiences. 3. The Great Barrier Reef When visiting Australia, if you have to make time to go to just one place, then it would be the great barrier reef. The great barrier reef is a natural wonder of the world, home to a large and diverse aquatic life. It is the largest coral reef system in the world. The great barrier reef is a perfect place for snorkeling and underwater photography. But going underwater isn’t the only way to enjoy the great barrier reef. You can also take a scenic flight over the reef and see it from above. 4. Sydney You haven’t completed your visit to Australia if you haven’t visited Sydney. Sydney is Australia's largest city and a must-visit destination. Famous for its iconic Opera House and Harbor Bridge, Sydney is a hub of culture, dining, and entertainment. Take a ferry ride to the nearby Taronga Zoo to see some of Australia's native wildlife, or explore the city's vibrant food scene. Sydney is the best well-rounded Australian experience. 5. Melbourne Just like Sydney, Melbourne is also a cultural hub in Australia. It is known for its world-class museums, galleries, and theaters. Explore Melbourne’s bustling streets and vibrant food scene or take a day trip to nearby beaches and national parks. You can edit all the photographs you take in Australia on the Urban Jungle Photo Editor. Now available on the App Store! Follow us on Instagram and Facebook if you want more fun stuff like vacation destination recommendations or facts about photography, wildlife, and much more! Photographing sea creatures, coral reefs, and aquatic plants is an adventure in and of itself. The art of underwater photography is hard to get into and even more difficult to master. The photographs need to be taken using a specialized underwater camera and equipment. The photographer needs to track a dozen different things, not only for the perfect photograph but also for his safety. So let’s take look at what it takes to get into underwater photography. 1. Preparing yourself The first and most important aspect of underwater photography is learning how to dive. Taking underwater photography requires diving skills. So make sure you first spend time getting familiar with diving equipment and diving in general. Also learning about various diving skills and equipment is necessary. This ensures that when you finally go for photography dives, you can focus on photography. Having additional knowledge about things like marine life, currents, aquatic topography, etc is also pretty useful. 2. The equipment you need Unlike ground photography, underwater photography requires special equipment just to get started. For your camera, you have two options. First is to buy a specialized underwater camera that is waterproof and specially designed to be used underwater. The second option is to use a waterproof housing for a DSLR or mirrorless camera. While there are some smartphones like the latest iPhone that can do underwater photography. Those are only good in really shallow waters. Other equipment you will need for underwater photography is light sources like strobes or focus lights. Diving accessories that will be useful include things like buoyancy control devices, weight belts, and communication devices if you are diving with more people. 3. Choosing the location The most important decision is selecting the location of the dive. While there are different considerations for different photographers. Mostly diving location is chosen based on things like
When selecting your dive location make sure that it is easily accessible and has good visibility. The last thing you want is your image to be a poorly lit mess.
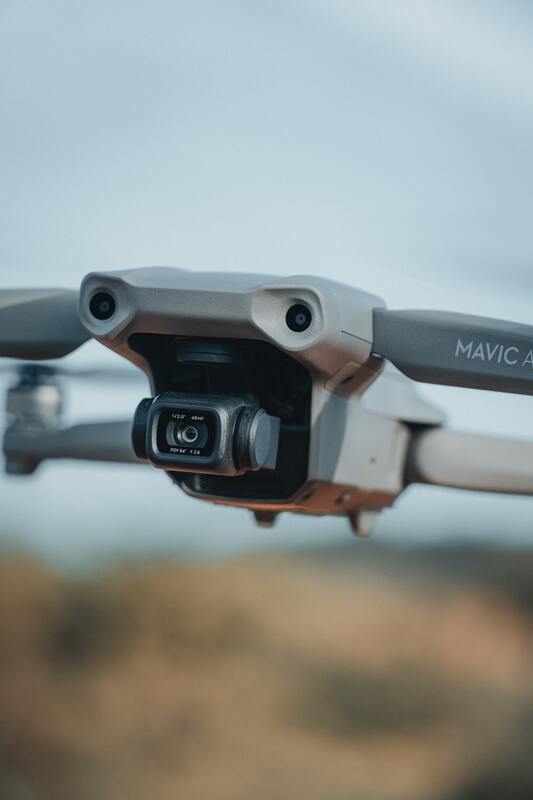
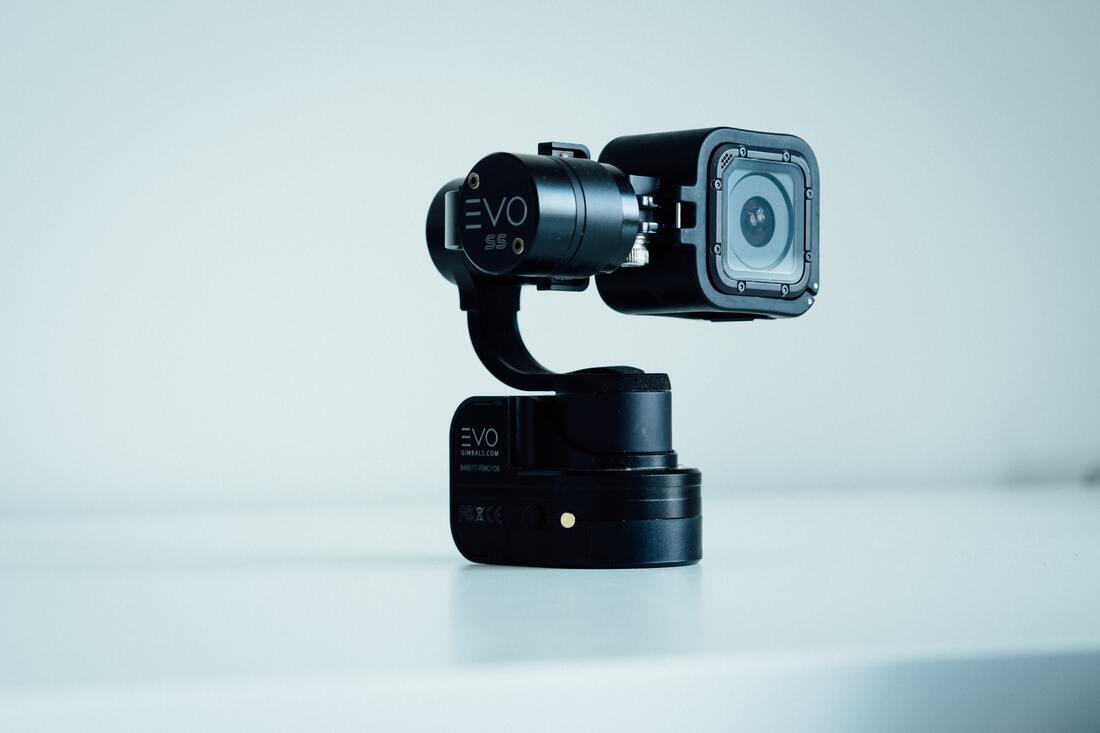
You can edit your underwater photographs on the Urban Jungle Photo Editor. Available on the Apple App Store. Follow us on Facebook and Instagram to be the first ones to hear about exciting new features coming to the Urban Jungle Photo Editor. If you have recently been out purchasing a new smartphone or even a photography drone, you may have come across terms such as Image Stabilization. This is the process by which modern camera sensors compensate for camera shake, so that picture taken by the camera is smooth and clear. Image stabilization is important because even small movements like the shaking of your hand when holding a smartphone can result in a blurry picture. Image stabilization remedies this by using a complicated suite of sensors and processors. We have already talked about Optical Image stabilization in a previous blog post, which you can read here. In today’s blog post, we will be looking at Electronic Image Stabilization. We look at how it works and whether it is better than OIS. How EIS works? EIS takes help from complicated sensors to ‘sense’ the movement of the camera. These sensors send information to the camera’s processor about the camera speed, angular velocity, and position. The processor then adjusts the position of the image to compensate for the motion. Typically, EIS uses sensors such as accelerators and a gyroscope to detect the movement of the camera. Think of these sensors as the eyes and ears of the processor, telling the processor in real-time how the camera is being moved. Once the processor has received information about the movement of the camera, it adjusts the image to counter the movement. How EIS is different from OIS? While both EIS and OIS are types of image stabilization. EIS works on the image after its captured, altering it digitally afterward. OIS on the other hand uses electromechanical means to move the camera sensors before and during image capture. In essence that makes OIS better because it has more data to work. But that comes at the cost of OIS-enabled sensors being more expensive to implement. This is why OIS is commonly found in high-end cameras, drones, and smartphones. While EIS is usually found in the budget to low-end smartphones and cameras. Some devices use both OIS and EIS to get the best of both worlds and provide the best possible stabilization.
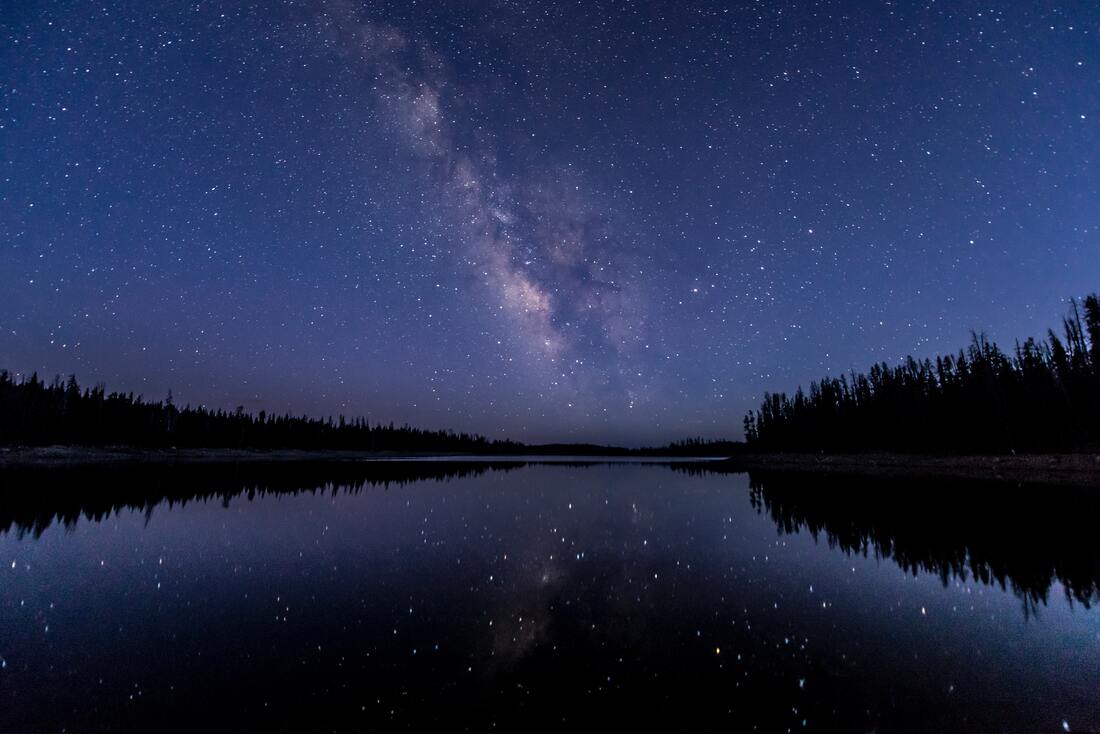
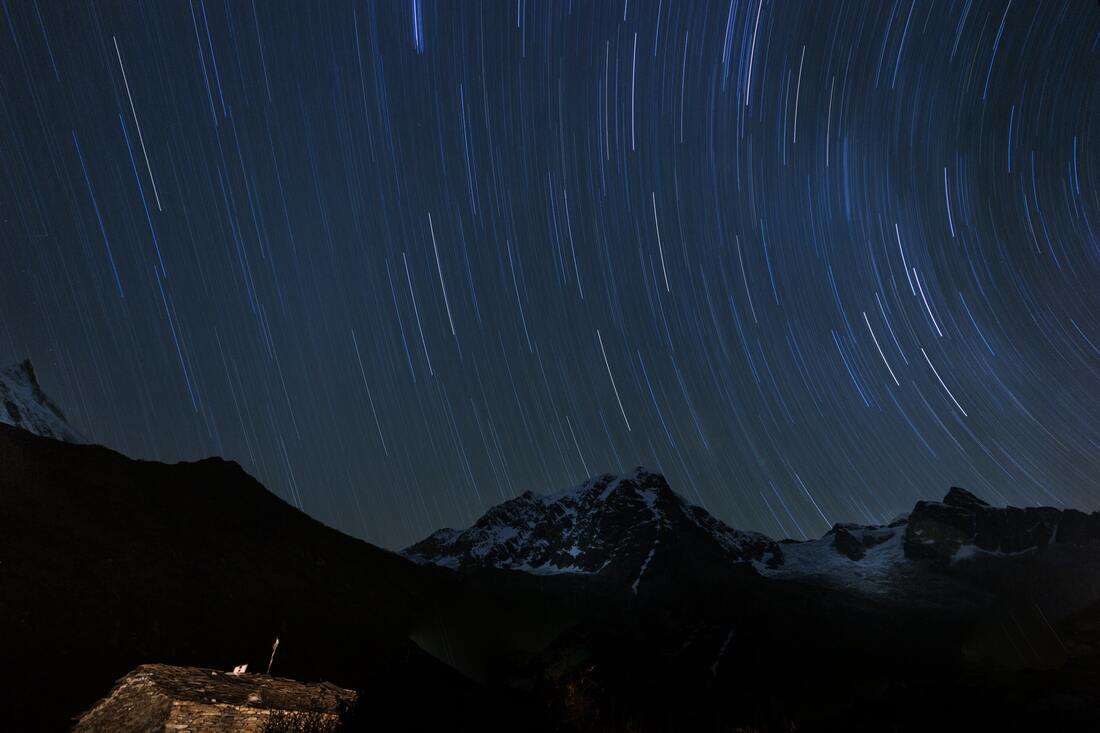
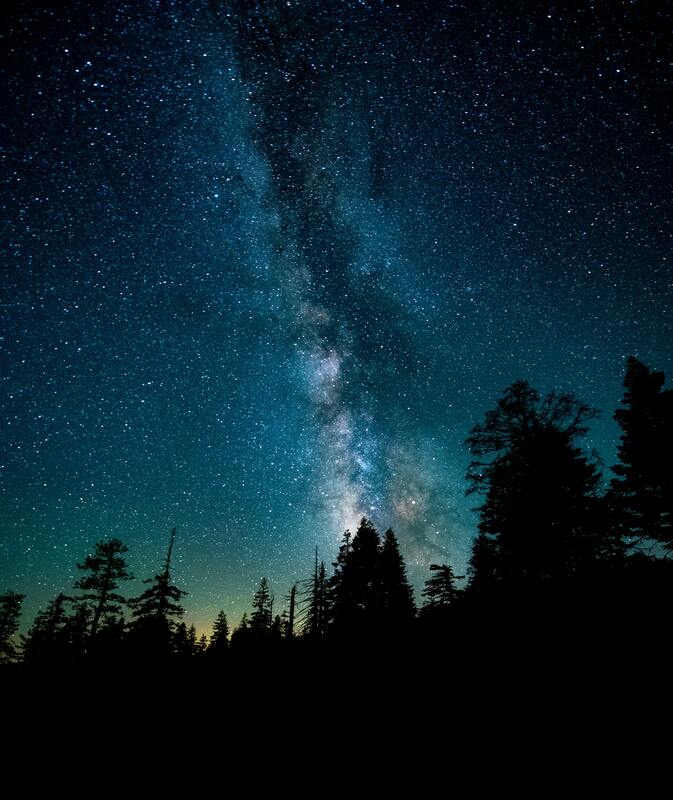
Billions of stars decorate the sky during the night. Astrophotography is the art of photographing the beauty of the night sky. This includes photographing all kinds of astronomical objects and events like stars, planets, and even comets. Getting that perfect Astro photograph can be tricky. In today’s blog post, we will be looking at some tips you can use to get the best photographs of the night sky. Also, as the majority of astrophotography is done during the night, our tips for shooting in low-light conditions also apply here. 1.Get away from light pollution. The first thing you need to do is to get as far away from the city as possible. This is because light pollution from the city will make it virtually impossible for you to take a good shot of the night sky. Head out to the countryside or the mountains, basically anyplace remote. Your goal should be a location with a minimal amount of light pollution, so your camera can get the best view of the night sky. 2.Try out different exposure times. Different exposure times determine how your photographs turn out. Longer exposure times result in star trails. This is because of the rotation of the earth about its axis. So in the pictures, it looks as if the stars are moving and leaving behind trails. Shorter exposure on the other hand reduces star trails. But the downside is you don’t capture enough light for a detailed photograph. So you have to balance both things put for the perfect picture. 3.Focus Focus Focus! A simple tip when photographing the night sky in low light conditions is to use manual focus instead of autofocusing. Manually focusing on brighter stars or even very distant sources of light. Autofocus has a hard time in low light conditions and the result is blurry pictures.
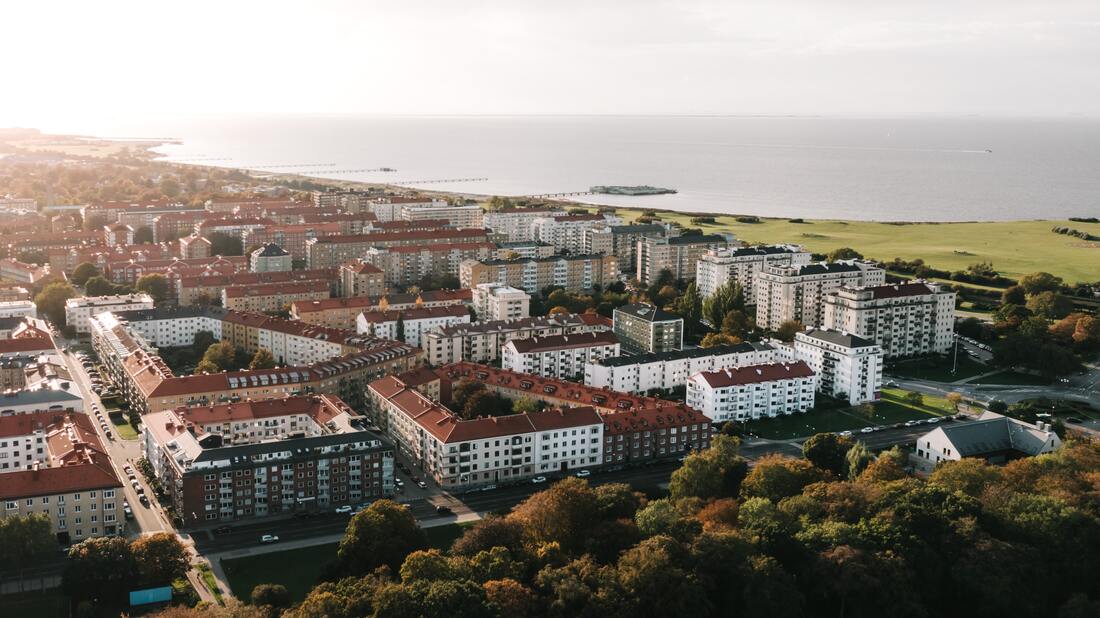
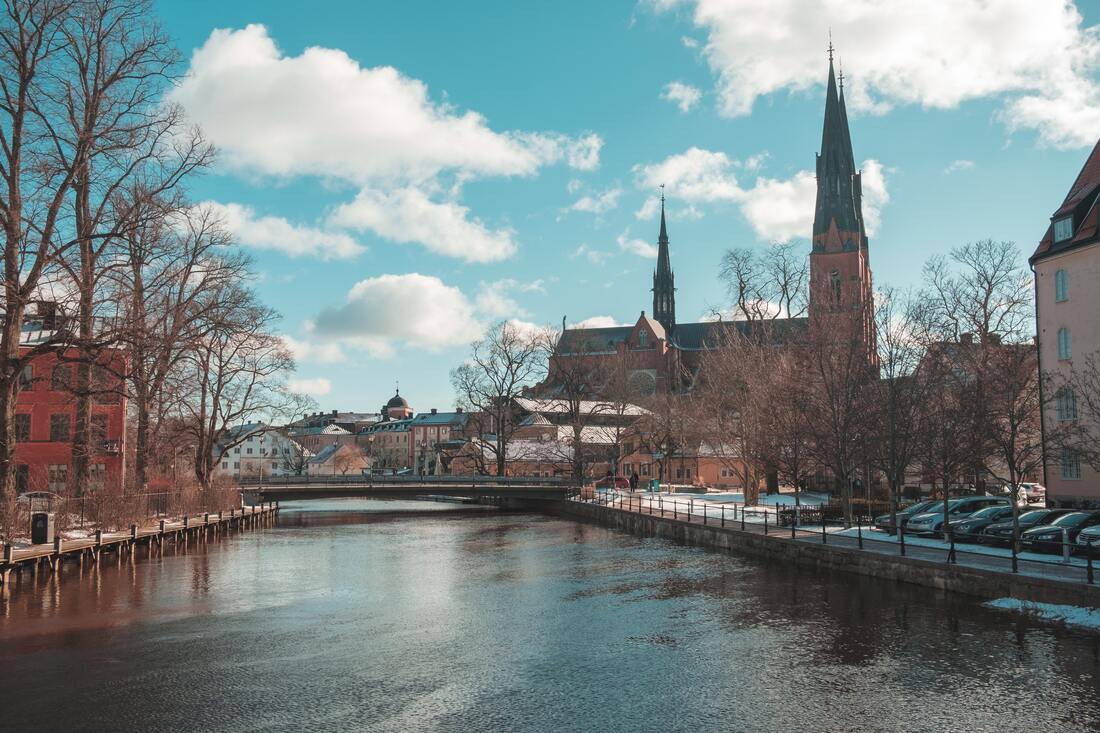
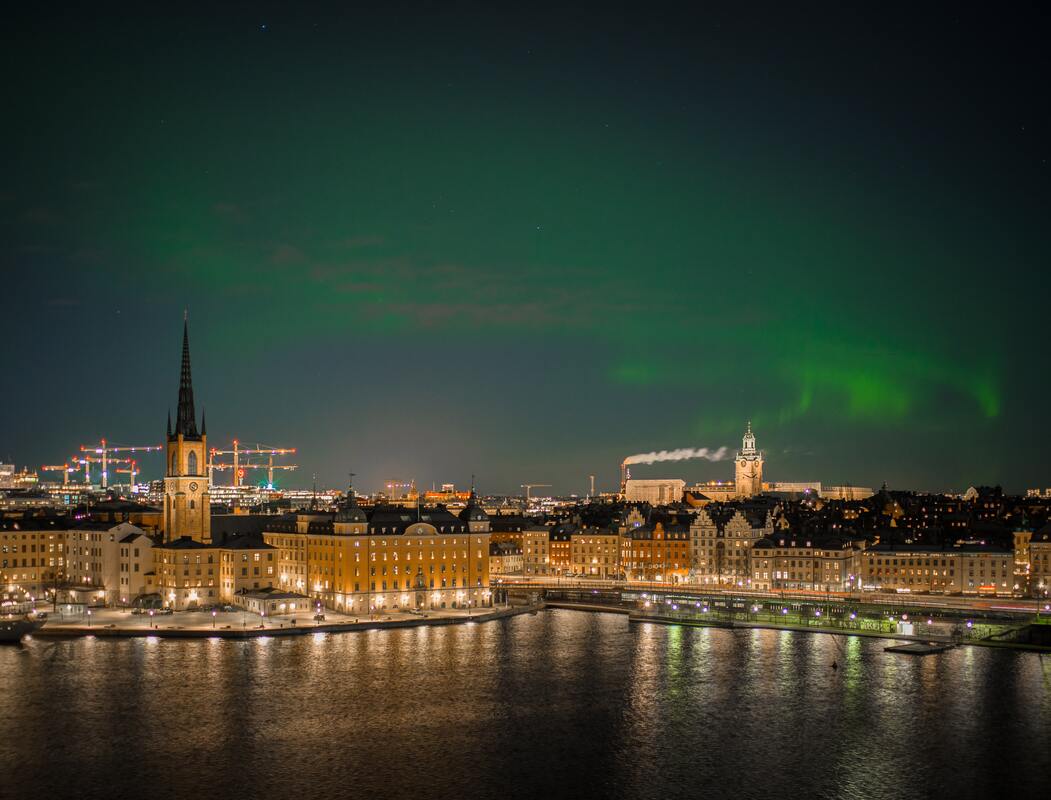
Follow us on Facebook and Instagram to learn more about the Urban Jungle App. Download it now on the App Store. You can also get your pictures featured on our page if you use the hashtag #UrbanJungleApp. Sweden, one of the jewels of the Scandinavian belt is known for its scenic northern beauty, stunning inland lakes, thousands of small and beautiful islands, and medieval architecture. To the north of Sweden, you will find open wilderness of Sweden, while the south is the most populated. The buildings in most major cities are a mix of modern, Romanesque, and Viking architecture. Let’s look at the must-go places in Sweden. 1.Malmo Sweden’s third largest city, Malmo is full of both modern and contemporary buildings linked with cobblestone roads. A must-see attraction in Malmo is the castle, Malmohus Slott. The beautiful castle surrounded by a protective moat is almost 600 years old. The Turning Torso, a masterpiece of modern architecture, is also located in Malmo. Other than that, the city is full of museums and cultural hotspots like galleries. 2.Uppsala Uppsala is the religious center of Sweden for almost 800 years. Located 44 miles north of the capital Stockholm, Uppsala has always been a holy place. Before Christianity, Uppsala was full of idols of Norse gods. The Uppsala cathedral is the center of Uppsala and has been the seat of the archbishop of Sweden for centuries. River Fyris runs throughout the city, making it a serene view for anyone walking along it. Uppsala is also home to the oldest university in Scandinavia, Uppsala Universitet. The largest attraction of Uppsala is botanical gardens, old churches, and dozens upon dozens of walking and hiking paths that allow you experience unfiltered raw Swedish beauty. 3.Stockholm A visit to Sweden without exploring Stockholm is cruel, to say the least. Stockholm is a proper international metropolitan city as it is host to a lot of very important international organizations like various headquarters for UN programs like the United Nations Development Program and the United Nations High Commissioner for Refugees. This also attracts a lot of NGOs and research institutes to set up offices in the Swedish capital as well. Stockholm is also sometimes called the Venice of the north because the city has a lot of waterways cutting through the city with a lot of different islands and peninsulas forming the city. Due to the international nature of the city, you will get to go to world-class museums, theaters, galleries, and other cultural attractions.
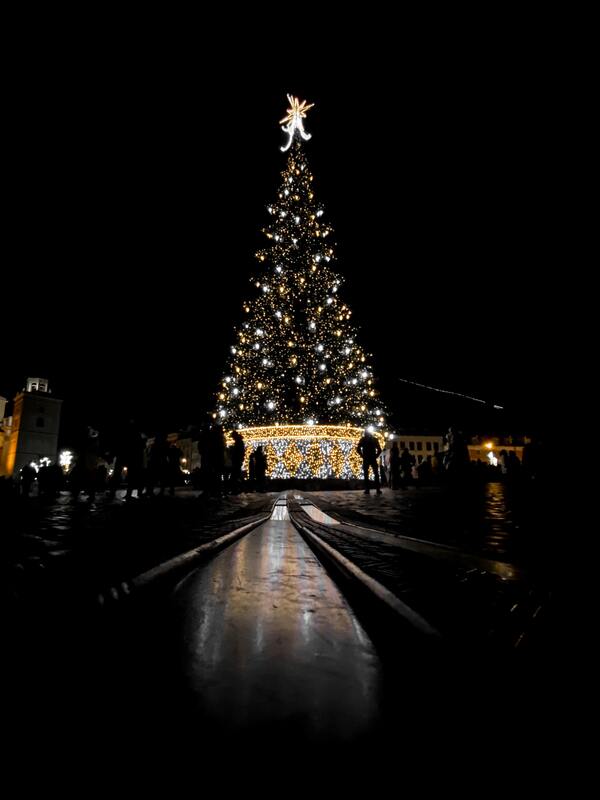
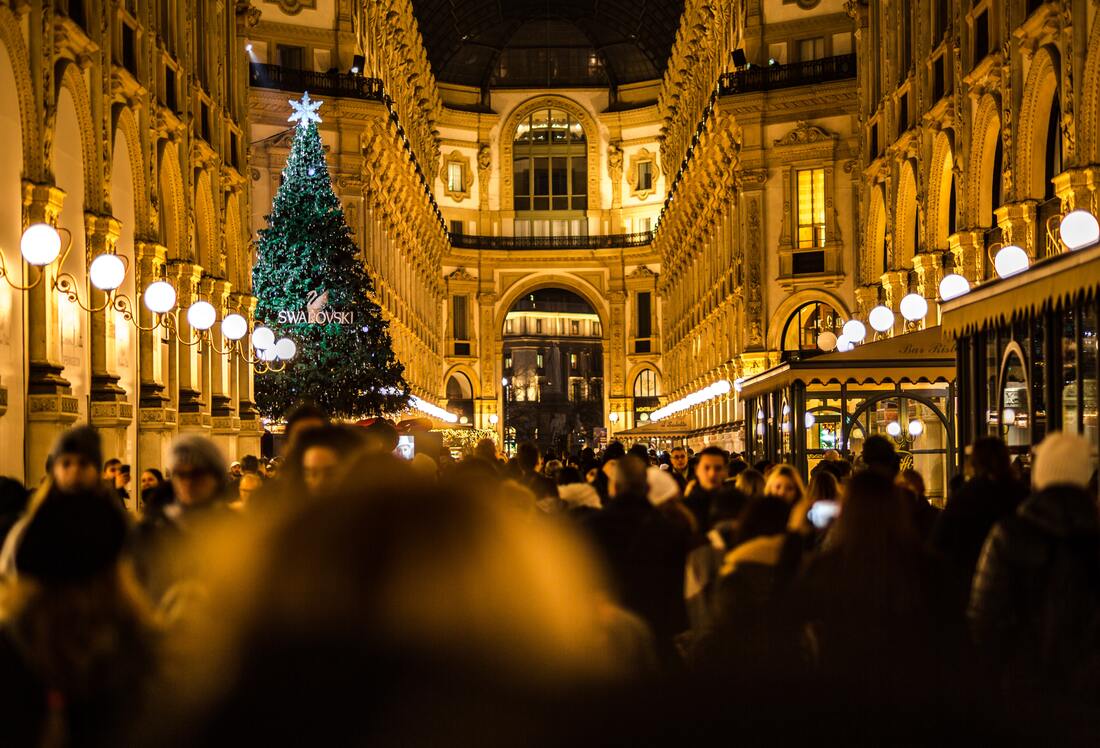
Follow us on Facebook and Instagram to stay up to date on upcoming exciting new features. You can also get your pictures featured on our page if you use the #UrbanJungleApp. Christmas and the holiday season are upon us! That means lots of presents, sweets, and festivities. But festivities are incomplete photography. Taking good pictures in festive seasons especially when there are outdoor gatherings and lots of people involved can be tricky. A lot of things are happening simultaneously, you need to be quick with your clicks to capture key moments to forever memorialize special events. Let’s go through some tips and tricks you need to keep in mind to make your festive photography shine. 1. Lights Lights Lights, Watch for Lighting Effects You can’t have festivities without lighting effects. From small fairy lights to large strobe lights, lighting conditions can vary greatly from venue to venue. Especially during Christmas when there are lots of decorated trees just begging to be photographed. Just make sure that you keep the strongest lights towards your back, this way you won’t wash your images. Also, tinker with ISO settings and shutter speed times to get the perfect-looking picture. Remember, you can’t fix everything post-production, so making sure you get a good raw picture is also important. 2. Getting your kit ready The most common mistake people make when going out to photograph festivities is to pack extensive equipment. Equipment that they may not even use all night. So make sure you only carry things you will definitely use. No use in carrying extra weight, you are supposed to be taking good pictures not weight training! Substitute bigger equipment for more compact equipment. For example instead of taking a huge tripod, just pack a small monopod. Also, make sure you are wearing comfortable clothing and shoes. 3. Include People Festivities are all about people and the things that bring them together. Just taking photographs of decorations and the overall scene without focusing on people will make sure pictures look shallow. Include crowds, include children, and include couples in your shots. These are the things that are actually the soul of holidays; people coming together. If can include these scenes in your shots, you will have captured the perfect festival photographs.
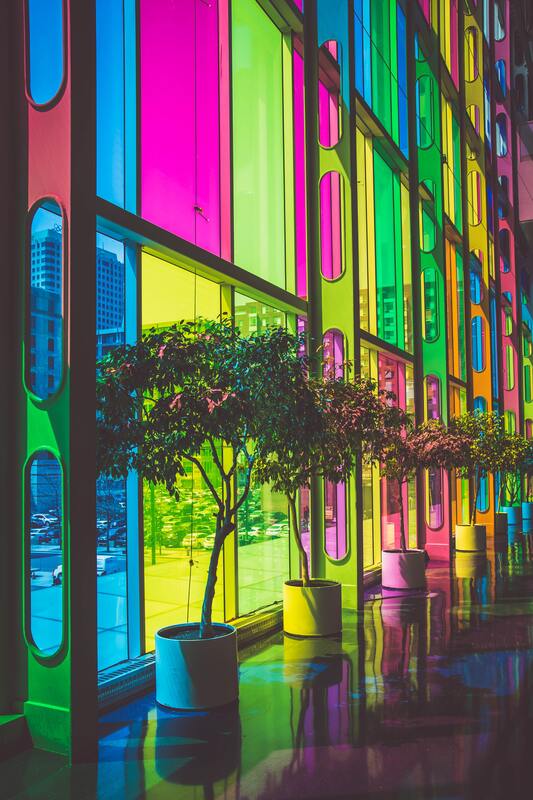
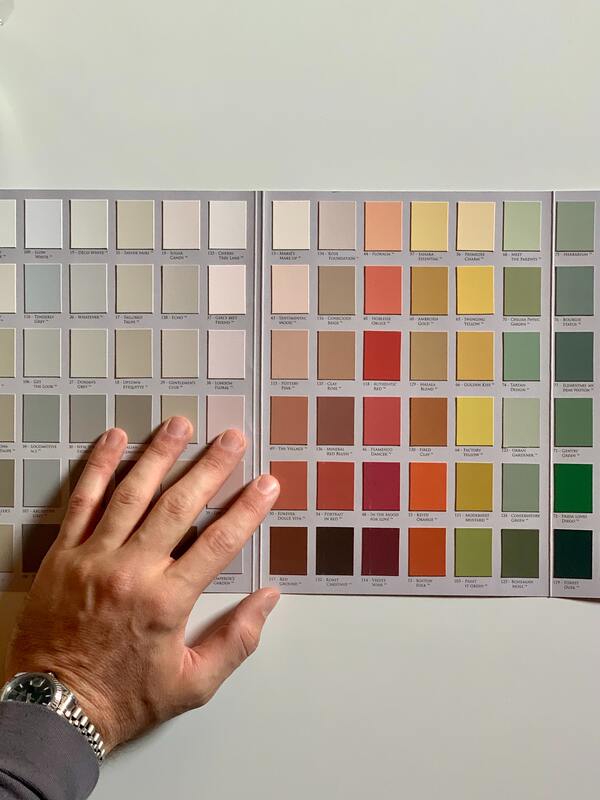
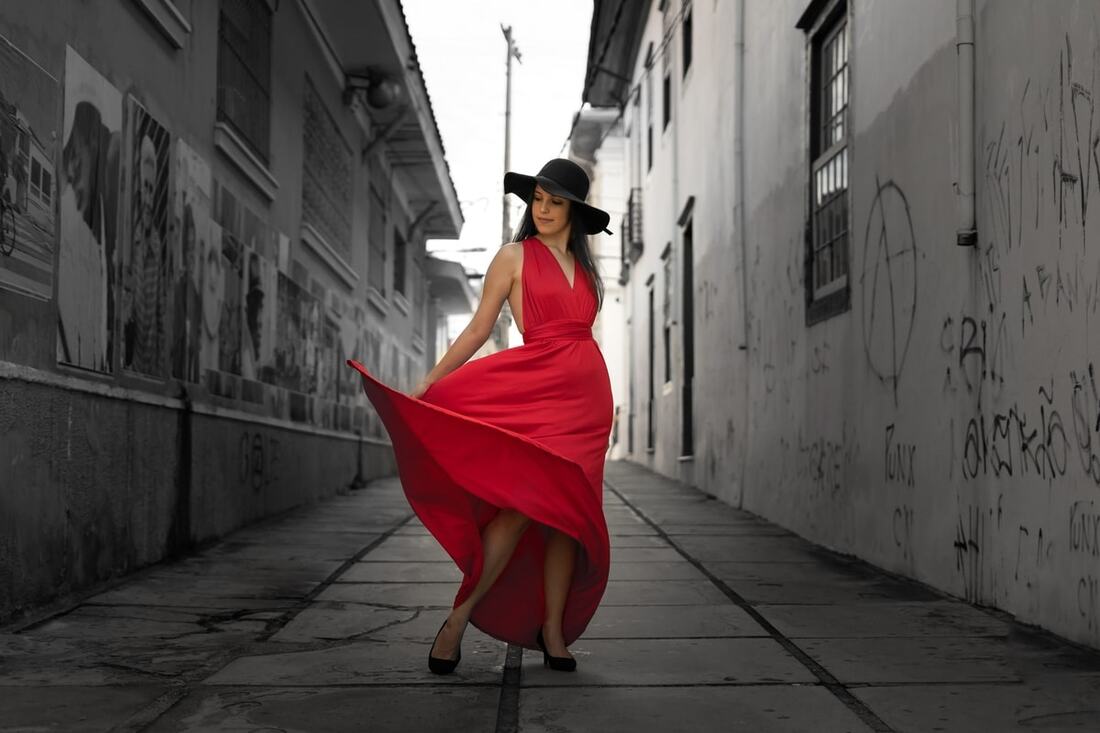
Edit your festive shots in the Urban Jungle Photo Editor. Available on the Apple App Store. Follow us on Facebook and Instagram to be the first ones to hear about exciting new features coming to the Urban Jungle Photo Editor. Colors are the soul of any picture. In fact, sometimes even the lack of certain colors in a picture can add a new depth to the picture and enhance its beauty. So, an understanding of how colors work in a picture is important if you want to produce beautiful pictures. One of the most powerful tools for taking control of the colors in your pictures is by using color saturation settings. Color saturation is the intensity of the color in an image. The higher the color saturation, the more colors will pop in your image. So, let’s take a look at how color saturation works and how you can tweak these to make your pictures look amazing. Saturation Sliders Saturation sliders exist in almost all types of photo editing software. The Urban Jungle Photo editor also has saturation control. If you slide the slider towards the left, you will reduce saturation and the image will look washed out. Moving the slider towards the right will increase the saturation. You can also change the saturation of each color separately. This way you can make one color bright and vibrant, and some other colors completely washed out. What is Color Space and why it is important? Color space is the range of colors a photo can show. Think of it like a color index of the picture. The most commonly used color spaces are sRGB and Adobe RGB. RGB simply stands for Red Green and Blue. These are the primary colors that we use to make all the other colors. Most screens use RGB. sRGB only has the capability to produce 75% of the colors in adobe RGB space. Understanding and selecting the correct color space can make the difference between a good-looking image and miscolored image. Selective Coloring This is the technique of desaturating the entire image except for one or two areas of bright color. This results in one or two objects being shown brightly with a faded background. This method is popular as you can subtly highlight an object. You can use this technique to draw your viewer's attention toward a particular object.
Use the Urban Jungle Photo Editor to unleash your creativity. Download it now for free on the Apple app store. Follow us on Facebook and Instagram to stay up to date on upcoming exciting new features. You can also get your pictures featured on our page if you use the #UrbanJungleApp. |
Urban JungleWith Urban Jungle elements at your fingertips, the possibilities are endless. CategoriesArchives
March 2023
|
Follow |
Urban Jungle |
|

